Aerial Lift Rentals: How Qualification Changes Safety and Jobsite Control
Aerial Lift Rentals & Jobsite Safety — What Changes Before and After Operator Qualification
Renting an aerial lift can solve a big access problem fast—but it also introduces work-at-height risks that don’t exist with ladders or scaffolds. For rental customers, the difference between a smooth job and a serious incident usually comes down to two things:
-
Picking the right lift for the job, and
-
Making sure the operator is trained and evaluated before they go up.
This guide is written for crews, supervisors, and companies that rent aerial lifts. You’ll see what jobsites often look like before operators are qualified, what changes after training, and the rental best practices that keep your project moving and your team safe.
What Rental Jobsites Look Like Before Operators Are Qualified
On rental jobs, the schedule is tight and the lift shows up “ready to go,” so crews often jump right in. Before operator qualification, you’ll commonly see:
- The lift gets chosen based on availability instead of job requirements
- Operators learn controls on the fly
- Ground conditions aren’t checked (slopes, soft soil, potholes, voids)
- Power line clearance is assumed instead of planned
- Spotters are used inconsistently
- No defined exclusion zone below the work
- Confusion over fall protection rules
- No plan for “what if the lift won’t come down?”
It’s rarely intentional; it’s usually time pressure, unfamiliar equipment, or unclear responsibility between the renter, crew, and site lead.
The Most Common Rental-Related “Oops” That Become Big Problems
1) Renting the wrong machine for the task
This is the #1 rental safety issue. Examples:
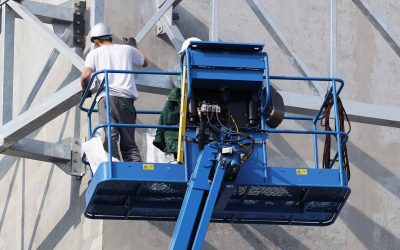
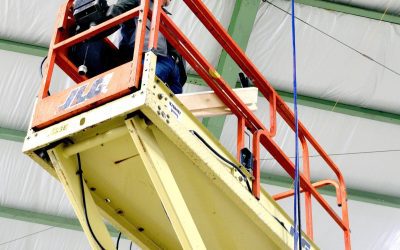
- A scissor lift used where outreach is needed (operators start leaning/climbing)
- A boom lift chosen without accounting for ground conditions
- Indoor unit sent to an outdoor surface or rough terrain
- Not enough height once you factor in obstacles and approach angle
2) Site conditions don’t match the plan
Even if the lift is correct, conditions change:
- Soil becomes soft after rain
- Potholes get hidden by debris
- Slopes are steeper than they look
- Forklift/vehicle traffic creates strike hazards
3) “No one owns the zone”
Rental lifts attract foot traffic and curiosity. Without control zones:
- People walk under elevated work (dropped-object risk)
- Vehicles pass too close (strike/crush hazards)
- The operator gets pressured to “just finish” in unsafe conditions
4) Emergency readiness is missing
When a lift loses power while elevated, unqualified crews often scramble. Rental success means:
- Knowing emergency lowering procedures
- Knowing who is authorized to operate ground controls
- Having a rescue plan that matches the work
What Changes After Operator Qualification (The Rental Customer Payoff)
When operators are trained and evaluated—and the rental is set up correctly, everything gets smoother:
- Less time wasted repositioning the wrong machine
- Fewer “reach problems” that lead to unsafe behavior
- Better setup decisions (ground, slope, overhead hazards)
- Cleaner traffic control around the lift
- More consistent fall protection and platform behavior
- Faster, safer execution with fewer delays and fewer close calls
Training doesn’t slow the job down—it prevents the delays that come from near-misses, damage, and shutdowns.
Rental-Focused Best Practices That Prevent Incidents and Downtime
1) Use a “Lift Match” checklist before you rent
Before you call for a rental, confirm:
- Working height needed (include reach over obstacles)
- Indoor vs. outdoor use
- Surface type (smooth slab, gravel, soil, grade, ramps)
- Travel path and access (door widths, tight turns, overhead obstructions)
- Capacity needs (people + tools + materials)
- Power source (electric vs. engine) and ventilation limits indoors
- Weather exposure (wind, rain, temperature)
If you get these right, the rental becomes a tool—not a problem.
2) Treat delivery as the start of setup—not the finish
When the lift arrives, don’t rush. Do:
- Walk the route
- Check overhead hazards (steel, sprinklers, power lines, door tracks)
- Check the surface (holes, drop-offs, soft spots)
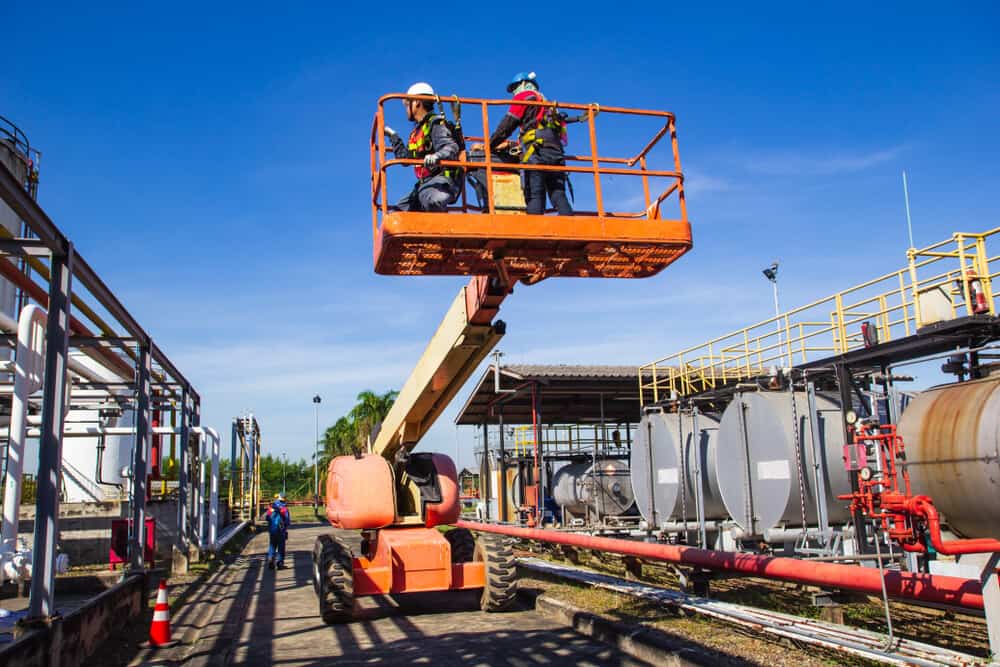
- Establish the exclusion zone below the work area
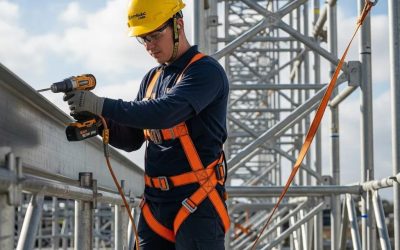
- Confirm fall protection requirements for the lift type and task
3) Control the zone like it’s part of the job
Rental jobs fail when the area around the lift isn’t managed. Build these controls in:
- Cones/tape/barricades below active overhead work
- A spotter when working near obstacles, traffic, or overhead hazards
- Clear communication signals (especially for repositioning)
4) Build emergency lowering into the pre-job brief
Before anyone goes up, confirm:
- Where the emergency descent controls are
- Who is authorized and trained to use ground controls
- What to do if the lift is stuck elevated
- How to contact site supervision or emergency services if needed
This prevents panic and bad decisions when something goes wrong.
Pre-Use Inspection & Function Test (Rental Edition)
Rental equipment still needs a daily check by the user before operation. A strong routine includes:
Platform + structure
- Guardrails, entry gate/chain, platform floor condition
- Approved anchor points condition
Controls + safety systems
- Platform controls + ground controls
- Emergency stop
- Emergency lowering/descent
- Alarms and interlocks (tilt alarm, motion alarm if equipped)
Mobility + stability
- Tires/wheels condition
- Outriggers and pads (if equipped)
- Steering and drive response
Power + hydraulics
- Battery/fuel level
- Hydraulic leaks, hose damage, wiring damage
Function test
- Raise/lower smoothly
- Drive/steer response
- Confirm emergency lowering works per site procedure
If it fails inspection or function test, stop and report it. A rental lift should never be “good enough.”
What to Teach a Rental Crew in 10 Minutes (The “No-Regrets” Brief)
If you only have time for a short rental safety brief, hit these points:
-
No climbing rails, no leaning out to gain reach
-
Inspect + function test before elevation
-
Check ground + overhead every time you reposition
-
Control the drop zone below the platform
-
Know emergency lowering before you go up
That’s the difference between “we rented a lift” and “we’re running a safe elevated operation.”
Frequently Asked Questions (Aerial Lift Rental Audience)
Who is responsible for training on a rented lift?
The employer/site is responsible for ensuring operators are trained and evaluated for the equipment and conditions in which they’ll use it—even if the lift is rented.
What’s the most common rental mistake that leads to unsafe behavior?
Choosing a lift that can’t safely reach the work. That’s when people start leaning, climbing, or improvising.
Should we use a spotter every time?
Not always, but spotters are strongly recommended when working near overhead obstructions, traffic, tight access areas, or power lines—and anytime visibility is limited.
What if the lift arrives and the ground conditions aren’t safe?
Stop and reassess. Move work to a safer location, improve ground conditions, or exchange the lift for one designed for the surface and environment.
How do we prevent people from walking under the work area?
Plan the exclusion zone before you elevate: cones, tape, barricades, signage, and a spotter when needed. Treat it like part of production—not optional.
Conclusion
Aerial lift rentals can make work faster—if you match the machine to the job and ensure operators are trained and evaluated before they go up. The biggest improvements after qualification aren’t just safety outcomes—they’re fewer delays, fewer mistakes, less damage, and a smoother job from setup to closeout.
If you rent lifts regularly, build a repeatable rental process: pick the right lift, inspect it, control the zone, and train operators to operate predictably at height.