Your Guide to Traffic Cone Placement
 Traffic cones are the unsung heroes of the industrial environment. They send clear messages about safety, work zones, and the presence of construction workers. Of course, these useful tools would be nothing without proper traffic cone placement. Understanding how to use traffic cones properly can help keep employees safe and minimize the risk of accidents, especially when using an aerial lift.
Types of Traffic Cones
There is a wide range of traffic cones available for use. By understanding the various types of traffic cones, you’ll be ready to select the right option for your work zone. Most are bright orange in color, designed to grab the attention of passersby. Lime green cones indicate the presence of pedestrians, while red versions are used to block workplace hazards.
How tall are traffic cones, you might ask? They typically range in sizes from two inches to 36 inches. The larger the cone, the more likely it is to be used in an industrial setting. Cone shaped versions are the most common, but large drum versions are frequently used on roads and highways. Tall, thin marker traffic cones are another variety, often implemented to mark pedestrian pathways.

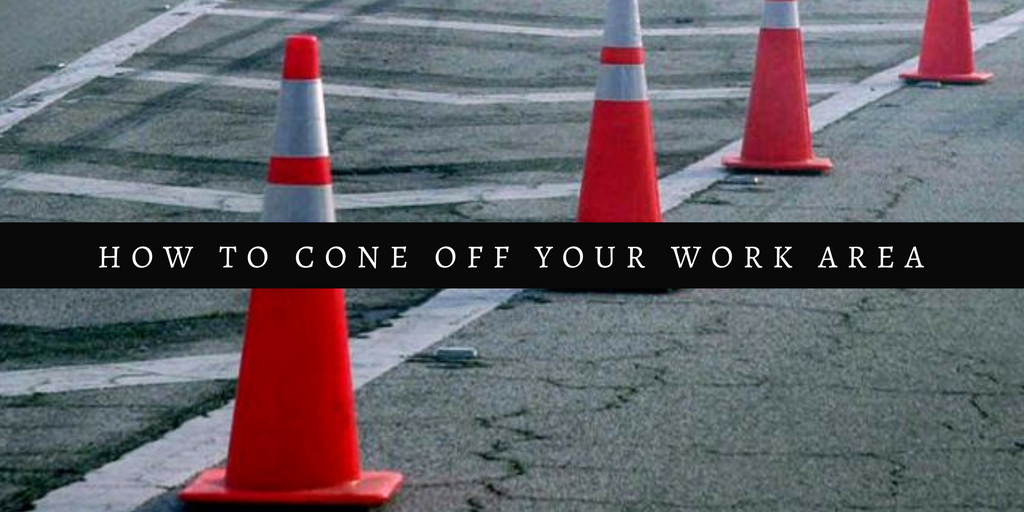
How to Cone Off and Taper an Aerial Lift Work Zone: Work Zone Codes for Enhanced Safety
Effective traffic cone placement is one of the most underrated aspects of AWP safety.
Proper work zone cones reduce the chances of accidents, “fence off” working areas from roads and pedestrian walkways, and also promote the safe application and deployment of other construction and work vehicles, not just aerial lifts.
OSHA traffic cone regulations should be followed whenever work zone cones are required for aerial lift or scissor lift use.
Here are a few ways to optimize work cones for aerial lift, scissor lifts, and other AWPs:
Divide the Temporary Traffic Control
When marking a work area, it is important to know of the different zones to cone off to provide plenty of advance warning to drivers. The TTC (temporary traffic control) can be broken down into four main sections: the advance warning area, the transition area, the activity area, and the termination area.
The Advance Warning Area
The advance warning area is the section of highway or road where drivers are notified of the upcoming work or incident. On urban streets, the placement of the advance warning should range from 4 to 8 times the speed limit in mph. For rural highways, the range is between 8 to 12 times the speed limit in mph.
The Transition Area
The transition area is the area of road where drivers are redirected out of their normal path. It usually consists of the strategic use of tapers, which are sections of channeling devices like cones. Transition areas are the “grey area” between a true work zone and non-working areas. Work cones should be situated strategically to designate any transition area.
The Activity Area
The activity area is the section of highway or road where the work activity is taking place and is usually marked off by cones to redirect drivers. The work activity area is closed to road users and is used for workers and equipment like aerial lifts. Again, use work cones to clearly define the activity area from adjacent areas.
The Termination Area
The termination area is the section of road where drivers are returned to their normal driving path. It extends downstream to the “End Road Work” sign.
The Correct Use of Tapers in Road Work
A taper is the length of channeling devices that is used to redirect road users to a different path. It is important for workers to understand how to position them properly.
The correct way to determine the appropriate taper length is as follows:
• 40 mph or less: the taper length in feet = WS2=/60
• 45 mph or more: the taper length in feet = WS
• W = width of the offset in feet
• S = posted speed limit
Each type of work zone taper length is determined by this chart:
Merging Taper, before the transition section to allow drivers to adjust their speeds—at least the length of the taper in feet
Shifting Taper, when a lateral shift is needed—at least half of the taper length in feet
Shoulder Taper, on a high-speed road where shoulders are part of the activity area—at least a third of the taper length in feet
One-Lane, Two-Way Traffic Taper, used before the activity area—at least 50 feet, and no more than 100 feet
Downstream Taper—at least 50 feet, and no more than 100 feet
Traffic Cone Laws and the Control Zone
OSHA has outlined strict traffic cone laws and regulations for work zones. Traffic control zones aim to safely guide road users via geometrics, roadside features, and temporary traffic control (TTC) devices. OSHA requires TTC plans be created in advance to ensure all safety measures are thoughtfully implemented and to identify all responsible parties. Pedestrians must be guided through these zones in a clear, direct manner, which is why traffic cone placement is so important. Construction workers must also be properly trained and certified to perform their duties and prevent accidents. While this might all seem like a tall order, traffic cone laws help keep workers and the public at large safe.
Not Sure About OSHA Traffic Cone Regulations? CertifyMeOnline.net is Ready to Train Your Company Today!
Follow the proper temporary traffic control protocols and ensure all workers are trained in aerial lift certification to further prevent accidents from happening. By educating yourself on traffic cone laws, you’ll be on your way to creating a safer work environment for your team.
Don’t put off your OSHA traffic cone regulations training and other important AWP compliance requirements. Let CertifyMeOnline.net get your company OSHA compliant for all activities related to safe AWP use, including work zone codes and much more.
Get started today! For any questions about our aerial lift & scissor lift training packages, call our AWP safety training staff at (602) 277-0615 or contact us online.